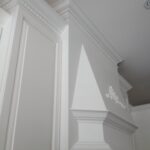
By Todd Sharrard. When refinishing kitchen cabinets the painting of base cabinetry refers to the refinishing of articles that cannot be removed and painted off site. In your standard kitchen this includes things such as the kick plates, gable ends, valance and crown mouldings; it can also refer to the painting of the stile and rail edge banding that surrounds each cabinet carcass.
This is our refined process for spray painting the on-site portion of any kitchen cabinet refinishing project – your typical 30 to 45 piece kitchen will take two people about two days to go through this entire process (the on-site work only). It is labour intensive, yes very much but, the goal is to make the kitchen look not painted, but in fact, constructed in the colour of choice. The gable end, crowns, and valances may end up being the most visible elements of your kitchen cabinetry so they should be spray painted, just like the cabinet doors and drawers.
Terminology:
cabinet carcass is the cabinet box or shell without its cabinet doors or drawers.
the term rail is used to refer to the horizontal edge of a carcass or cabinet door
stile is the vertical edge of the carcass or cabinet door
carcasses can be frameless typically with European style hinges or have a face frame attached with overlay hinges.
Factors that Impact Site work
site work in condos is hard, ventilation can be an issue especially since the kitchen is not equipped with windows
large open concept kitchens can also be a challenge to tape off and contain dust.
oversite cleanliness of the site and other work being done at the same time.
cabinet contents – it’s an easier and therefore better job done if the kitchen has been completely emptied
Tools & Sundry List:
Beyond your standard painting tools and accessories, these are the critical items I need for finishing base cabinets in your typical 45 piece kitchen.
Dnya Patch Pro (best for lacquer) – Dulux, Home Depot
3m Easy Masker
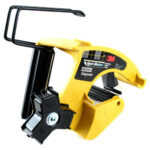
Hand Masker – toys for big boys, not essitenal for the DIYer, that aside, I can’t believe i used to work without one.
Good quality 1.5 inch masking tape. 3M blue tape is good for a DIY job.
Paper Rolls or Plastic Rolls – 12 inch (used with 3M Easy Masker)
24-inch plastic painters flim
Sharp Knife
400 / 320 / 240 Grit & 120 Grit * three stages of sanding and somewhere in that range but nothing less than 320 for the last coat
red and grey finishing pads * these are optional but sure do help with sanding details and washing
Spray painting base cabinetry can be tricky, in fact, its harder and more time-consuming than painting the actual doors and drawers. The nature of the task is difficult since the base cabinets have many intersecting points, corners and edges and most painting equipment wasn’t made to paint a 1/2 inch strip. All this translates into the perfect setting for a lot paint sags and the occasional holiday (missing a spot).
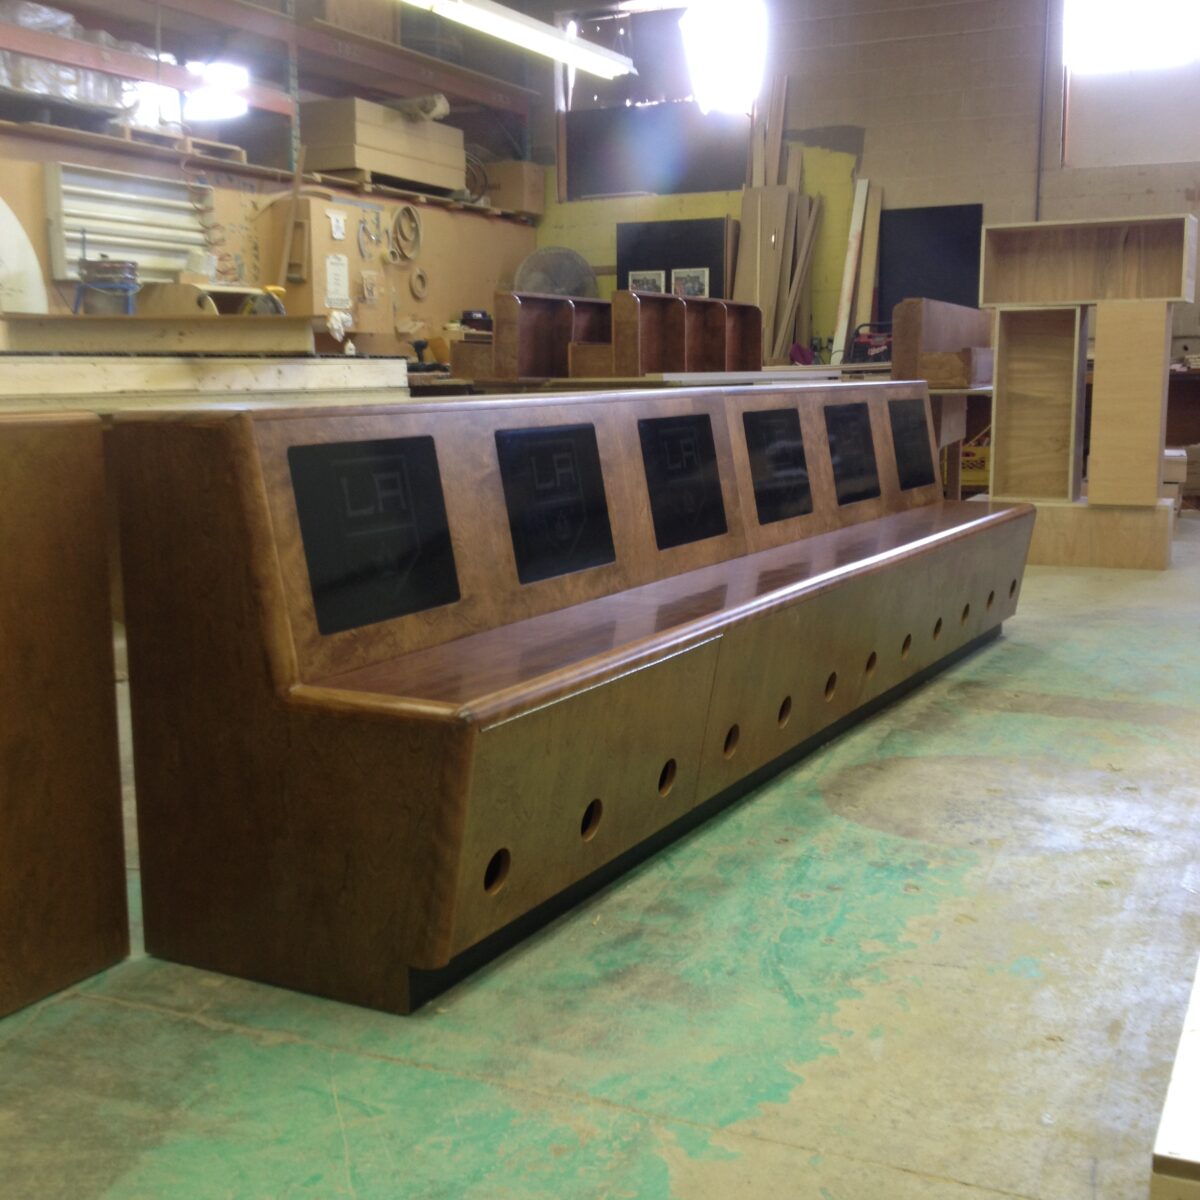
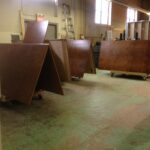
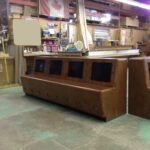
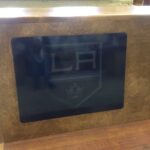
Oakville, Ontario: Sharrard Painting and Fine Finishing through its association with Retaylors just completed the refinishing of the new Coaches Corner for the Staple Center in Los Angeles. The project involved the finishing of over 100 pieces of solid birch and birch veneer. Each piece under went the following finishing schedule:
150 grit sanding
Staining – dry for 24 hours
Application of Supergard Valspar Clear – Sheen 25, via Graco 490 with 410 tip
Sanding with 320 grit
Application of Supergard Valspar Clear
Sanding with 500 grit
Application of Supergard Valspar Clear
Do to fire code regulations every piece had to be sealed on both sides. As per Valspar two coats of the clear coat provided adequate fire resistance required to meet local code legislations.
What a fun and exciting project for us to complete, thanks to Andrew and the team at Retaylors for the opportunity to work on such great quality pieces.
Wall panels made of birch veneer
Stained with both sides sealed with Valspar Superguard
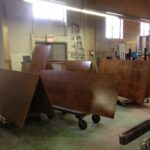
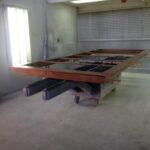
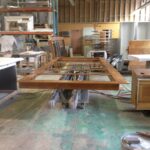
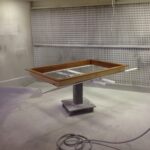
Ceiling frame to support wood panel ceiling
Wood panels for ceiling frame
One of two ceiling frames
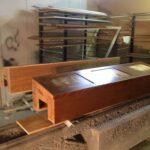
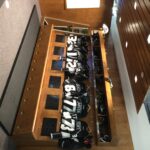
Benches – backs
Completed benches finished by Sharrard Painting made by ReTaylors
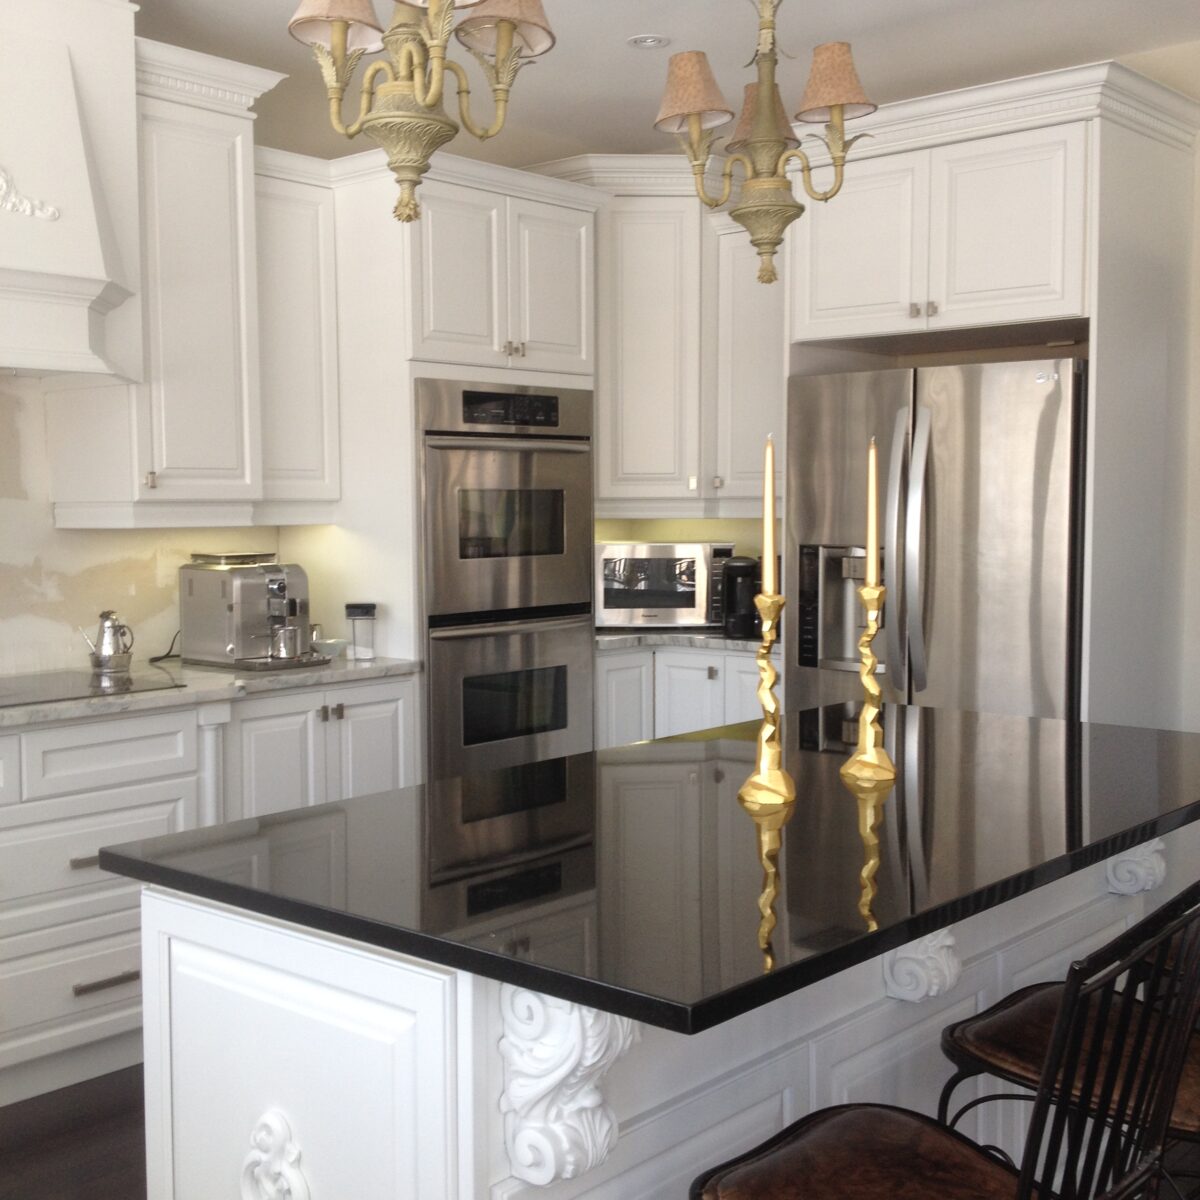
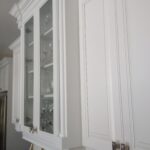
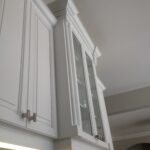
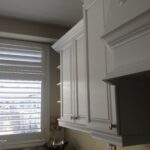
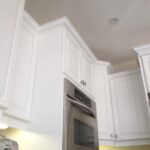
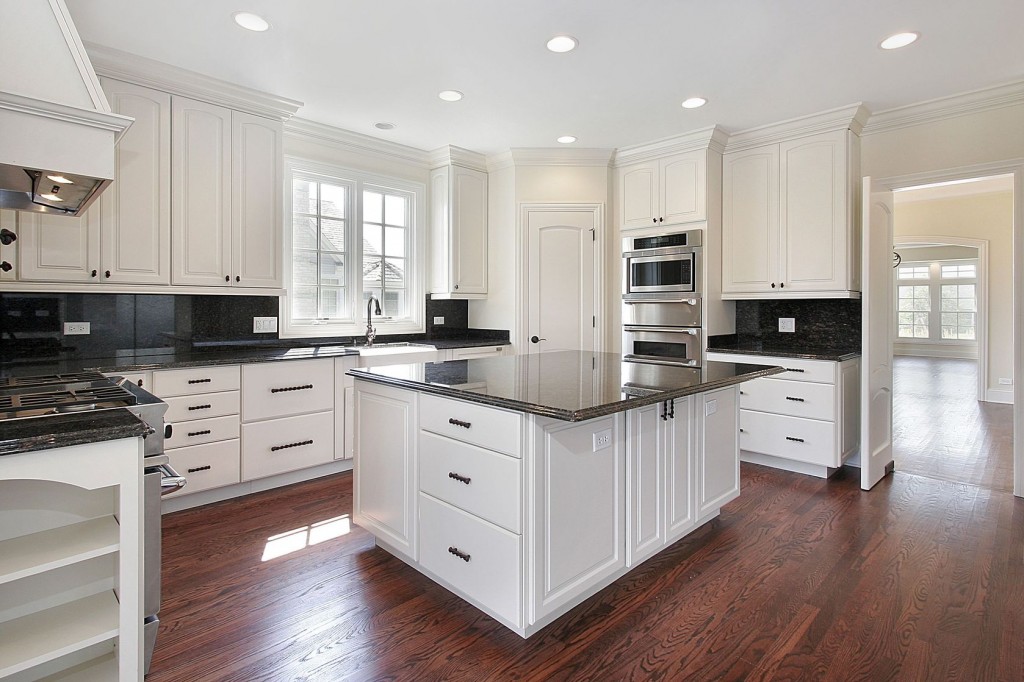
ANCASTER, ONTARIO. These cabinets were refinished by Sharrard Painting and Fine Finishing last fall. They were spray painted using an 395 Air Assisted Sprayer from Graco for the shop work and a Capspray 8100 (3 stage turbine) for the on site work. The colour is CC-20 Decorators White. The cabinet doors are made of very heavy and solid MDF core board. They were primed with two coats of Kem Aqua Surfacer and two coats of Kem Aqua Loss Gloss Blending White.
Update 2020: Sharrard Painting does not use Kem Aqua Lacquer any more. It does not have durability and wear when compared to post cat solvent-based lacquers. Because it is a low VOC it’s a good intermediate level lacquer if you don’t have the proper venting or spray booth available but it can be very hard to spray if you don’t get the variables right.
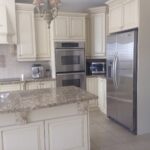
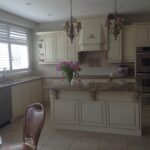
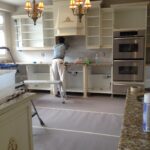
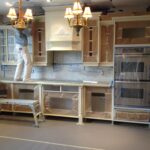
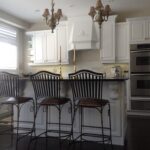
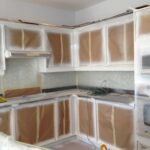
Before:
The mushroom glazed finish was very popular 10 years ago, I really liked them but keeping with the times today means a solid, glossly finish, no glazing. Glazing is a great technique that helps to hide a lot of imperfections in the finish and i can see why finishers used so much.
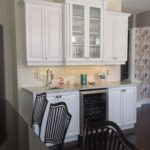
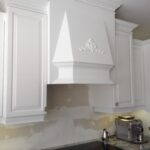
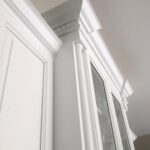
The ‘corbals’ under the island and the range hood will be a real challenge to finish in a solid white. The inside of the glass cabinet and its shelves will need to be refinished. The crowns could come off but moving them you risk breaking the seal in the corners.
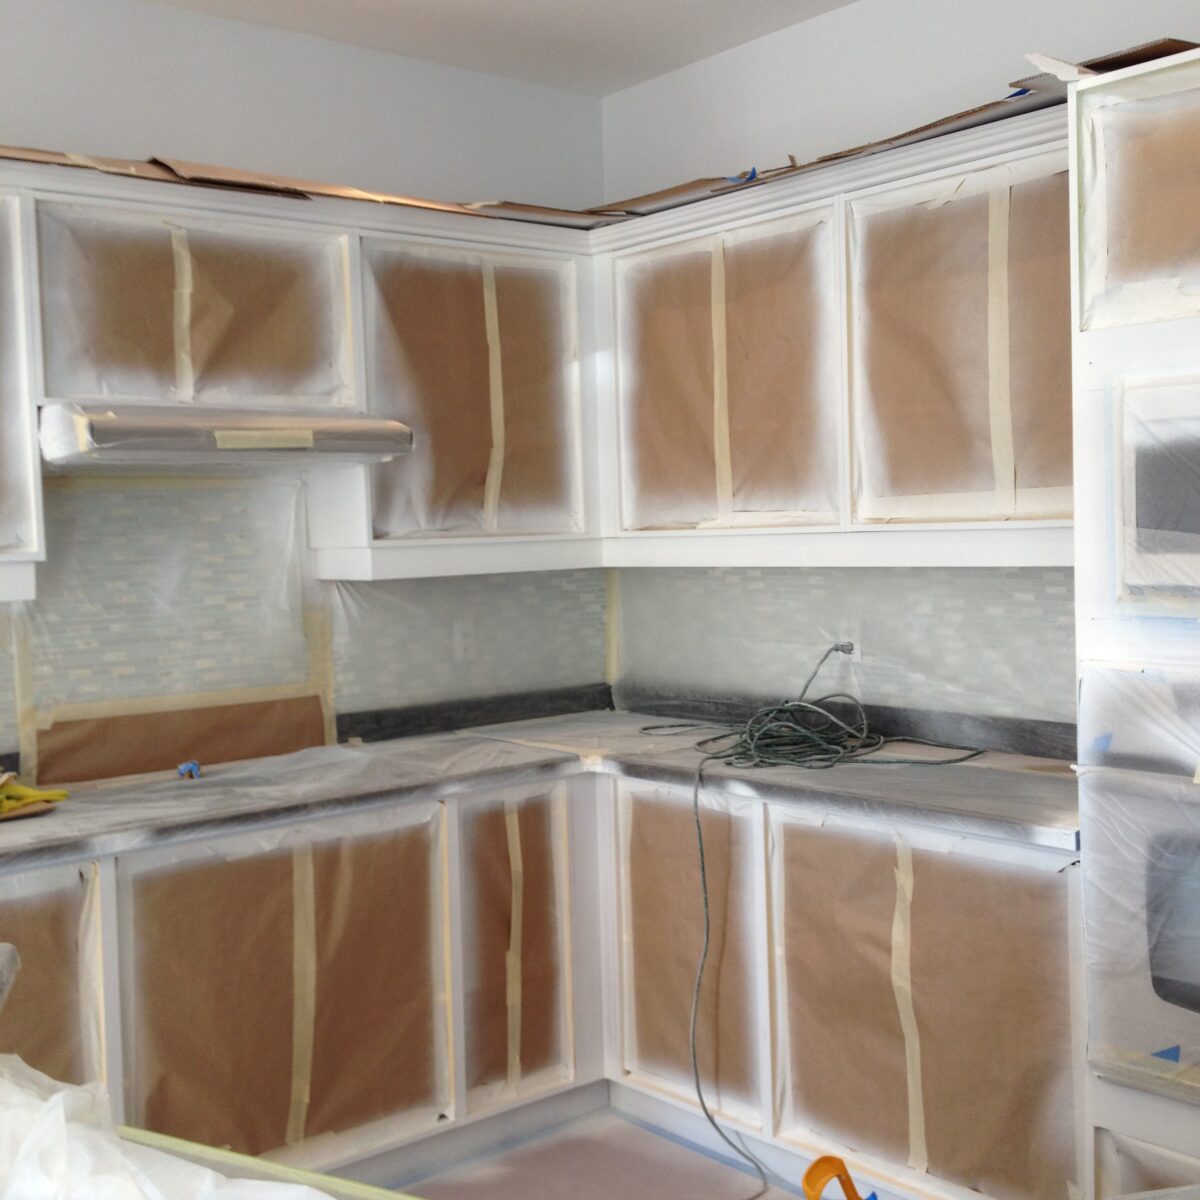
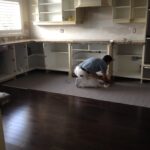
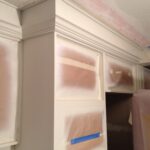
During:
Good quality flooring paper is where it starts. The stuff we are using here is called Anchored paper (not red rosin paper) and it comes from ICI / DULUX paints in Oakville. Great stuff – kind of rubber like – somewhat water / solvent proof, unlike rosin paper. Using a 3M hand masker one for paper and one for plastic film is great.
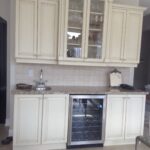
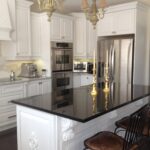
After:
Finish coat done in Kem Aqua Low Gloss Blending White – tinted to CC20 Decorators White (Ben Moore). Customer replaced floors with beautiful hardwood but still needs to replace the back splash; the two tone countertop (island is done in different colour) is a sharp look!
Updated Nov 30 2014. By Todd Sharrard. This is the same process Sharrard Painting uses for the refinishing kitchen cabinet doors. When refinishing we spray paint our kitchen cabinet doors using airless and conventional HVLP sprayer techniques. If you decide to undertake a cabinet refinishing project the actual process used for applying the finish to the surfaces may vary, for example a brush and roller could be used, an airless sprayer, a portable turbine based sprayer such a Titan Capspray, or conventional HVLP spray gun could be used but, the overall process remains generally the same.
Here is the complete how to paint kitchen cabinets by Sharrard Painting:
Materials Needed:
Paint: Sharrard painting using Lacquers to finish cabinet doors which can only be applied using a sprayer. If you need to use a brush and roller then use Ben Moore Advance. Most projects can be completed with one gallon of paint, if you’re spraying you will need a lot more. Discuss sheen options with the paint store and review the sample.
Primer: discuss options with the paint store, I recommend STIX Waterborne bonding primer.
Sandpaper – review the complete how too and the blog post on Cabinet Painting Tips and determine how you plan to complete the sanding stage of this project, you’ll need 120/150 grit paper for the initial sanding of the gloss and varnish surfaces, 220/240 grit paper for the sanding of the primer coat and 400 grit paper or equilvant for sanding between finish coats. I really like using the gray 000 sanding pads from Gator. I have a picture of them below.
Drying Rack: materials if required.
Paint Brushes and Rollers: Traditional Methods: 1 inch angled sash (paint brush), 3 inch fine finish roller (i do not use foam rollers), small paint try.
Misc: new hardware, replacement hinges, wood filler (if you have any holes to fill)
STIX (waterbased) is great for previously painted surfaces, maple wood and various veneers. BIN (oil based) is better for oak wood.
Top Secret Tip, please don’t tell my competitors … Gator 000 Sanding Pads work great between finish coats
If you cannot spray finish then 3 inch rollers are great for doing kitchen cabinets, including the base cabinets. They come with there own tray (which is useless) cost is approx $5.
Variable Speed Orbital Sander by Dewalt – approx $100 – variable speeds and dust collector (that connects to a vacumn hose)
From Start to Finish: Painting Kitchen Cabinets
A) Take them off: Remove, label doors and all other hardware. See our blog post on Tips for Painting Kitchen Cabinets for more information about this.
B) Wash Doors: all doors are washed with tri-sodium phosphates (a de-greaser). It’s almost a type of dry washing since the doors cannot get too damp or else they will warp or suffer other damage. You need to scrub up and rise and pat dry each door in a timely fashion. Insure the doors are dry before sanding.
C) Sanding (prior to prime coat): scuff sand the doors and sand out sags and runs from the previous finish. Scuff sanding means 5 to 6 quick passes with sand paper.
Use sanding sponges for the groves and expect to use a lot. The smaller cheap ones are easier to use but only last 2 or 3 doors before they need to be replaced.
Using a combination of spade shaped mouse sander for the corners and orbital sander for the front and sides and you will save a lot of time.
Be systematic in your approach to getting the work done and not missing any corners, sides or fonts.
For the initial sanding of the varnish coat use 120 – 180 grit sand paper.
Use 150/180 if you’re new to using those tools. Practice sanding on the backs of the doors. A moving orbital sander can leave rotation marks on the surface if not placed on to that surface correctly.
Dust, consider doing the sanding outside if possible and wear a mask to protect your lungs from the fine varnish dust.
D) Dents, Cracks and Holes: Now is the time to fill small holes with wood filler. The Le Page Tinted Wood Fillers work well in most applications.
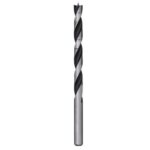
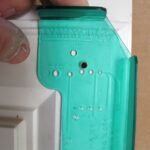
E) Modifications: if your going to change the door hardware you might want to run through a few things before you start painting the doors. Does the new hardware require A) the addition of a new hole B) the filling of the existing holes and the drilling of new ones or C) no changes since the existing hole(s) will work fine. Drilling templates and a 3/16 brad bit are essential tools for making such a modification. The template and the pointed drill bit (the brad bit) insures that your new hardware is straight and well aligned with the other doors.
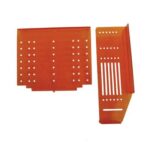
Cabinet Door Hardware Templates
3/16 Brad Bit – used to drill holes for cabinet door hardware
Door Hardware Templates
F) Dusting: completely dust the doors, remove all dust, use dry paint brush to sweep out cracks and be very detailed. Vacuum each piece to remove all the varnish dust, a bristle vacuum attachment works well for the detailed job.
G) Clean up: vacuum your work area and get ready to paint.
Example of Drying station built using two by 4 frames and drywall plugs. 2013 Sharrard Painting
H) Drying Station: if not already done construct a drying station. A professional lays out all the doors in advance and insures that a freshly painted door can be removed from the paint station and placed onto the drying rack without any of the wet paint being touched.
I) Prime coat: Match the primer to the paint and the paint and to the surface being painted. Prime the backs of the doors first and follow the paint or lacquer manufactures instructions for dry time. Flip over prime the other side.
Tip: spray paint the doors laying flat and always spay paint the sides of the cabinet doors first before applying your finish coat to the top or bottom or the door. If you’re applying two coats of primer and two coats of finish then each side of the cabinet door will end up getting painted 8 times. Don’t miss doing the sides of the door or drawer on each coat since they will get rough from over spray if you spray just the top of the surface without doing the sides.
These tack cloths are available at Sherwin Williams. approx $2.00
J) Sand: After the primer coat has completely dried use 220/240 grit sandpaper to smooth out the primer coat. If painting your doors white or an offwhite – two coats of primer is better bet than one coat of primer and two coats of thick paint. Completely dust and vacuum the door after sanding and wipe the door down with a tack cloth just prior to painting. Use a dry paint brush as a fine whisk to get into the corners. If possible take each door outside, or away from the painting station to avoid dust contamination at the drying racks.
K) First Coat of Paint: paint the BACK of the DOOR first(both coats of paint). If you paint the backs first any marks left from the painters pyramids (only if you’re in a rush) will be on the back of the door – drying time is as per the paints instructions.
when brushing or rolling the surface waterbased enamels such as Ben Moore Advance will need a full 16 hours of dry try between coats. While the paint may feel very dry after 5 to 6 hours never when brushing attempt any repaints prior to the interval of time recommend by the paint manufacturer
Recoat times can be greatly reduced when spray painting doors. Approx 6 hours – because you are not physically touching the surface. Professional cabinet finishers will use lacquer products that typically dry in under an hour.
Overnight drying or longer before flipping the doors and painting the fronts is recommend.
If the first coat has not cured enough the second coat will soften the first coat creating thick and unsightly brush marks.
Yellow bleeds or stains coming through white primer are sign you need to use oil base primer with shellac such as BIN by Zinsser. If not dealt with the yellow will continue to bleed through to the finish coat. If the yellowing is only is only in a few spots then use a spray can of BINs and only spot prime. If the yellowing is extensive you will need to apply a complete coat of the BINs shellac based primer.
M) Second coat of paint: Between first and second coat use 320 grit sandpaper. If it’s not covering completely after the second coats don’t force it, just accept that you’ll need to apply another coat. You likely applied too light of a coat during the primer or painting process or both but that’s OK since the end results applying the paint to thick would be much worse.
N) Painting Base Cabinets, Gable Ends, Kick Plates, Crowns and Valances: cabinet doors can be move around during the painting process but the base cabinetry cannot and therefore in many ways it is a lot harder and cumbersome to paint the base cabinets then the doors and drawers. Take your time. With all of the corners in the base cabinets there is a lot of places to get sags, even for the seasoned pro it can be hard. We spray paint most of your base cabinetry right on site using a portable turbine based sprayer such as Titan Capspray. In October of 2014 we did a great blog entry on spray painting base cabinets and gable ends.
If you can’t use a sprayer to paint the base cabinets the tiny 3 inch rollers are great for painting kitchen cabinet carcasses. When painting the edge banding I really like to deplete my roller first. Keep spare cardboard with you to do just that, i.e. roll out a freshly paint filled roller on the scrap piece cardboard before painting the thin strip edge banding. Use a lot of tape here to make your job easier and to keep your focus on the not getting any sags or runs.
N) Dry Time and Re-hanging the doors: Within hours the surface is dry to the touch but the paint is still soft and will scratch, chip or scuff easily. During the initial week of drying try not to handle the doors too much initially and don’t try to hang the doors before they have begun to fully cure, this takes about 5 to 7 days.