
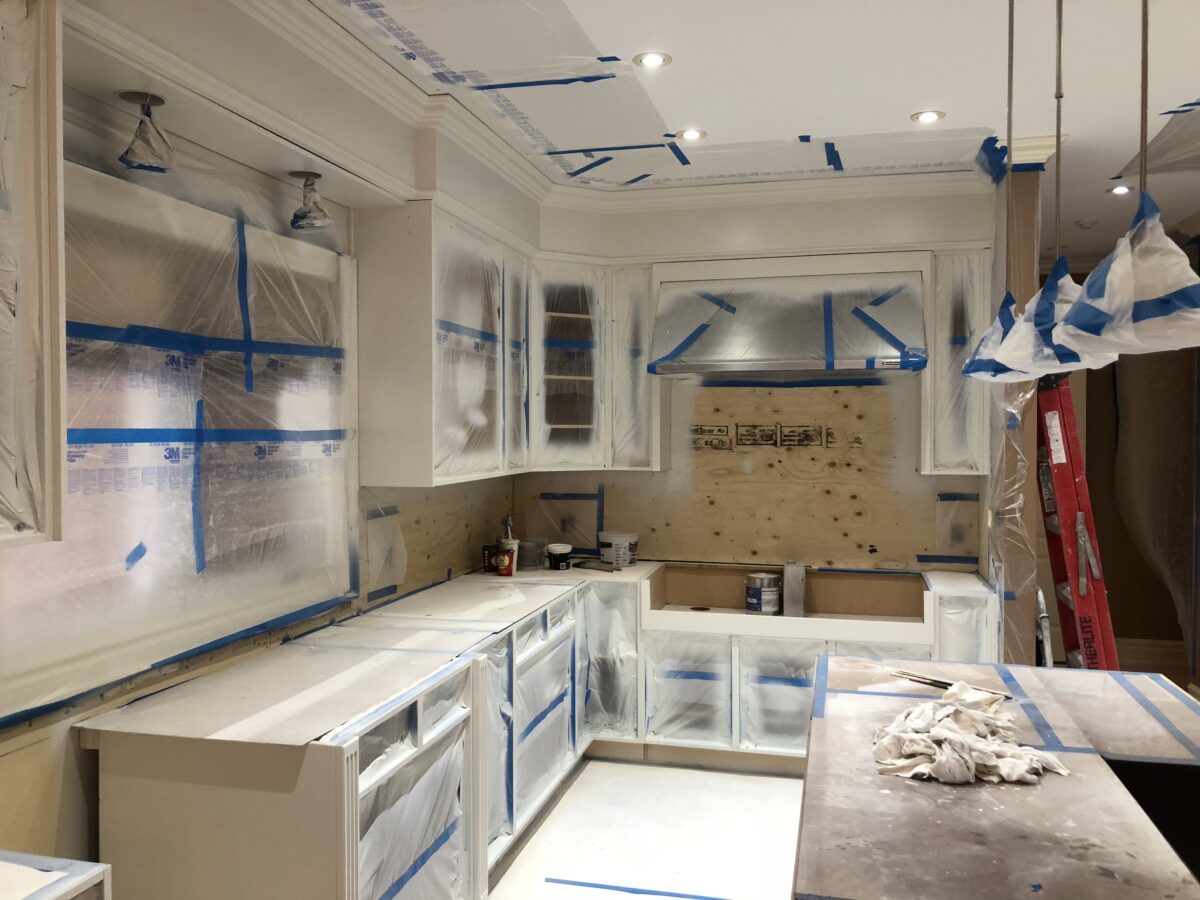
You can use this process at home to refinish your kitchen cabinet doors. It is similar to the methods Sharrard Painting follows for professional cabinet refinishing:
A) Take them off: Remove, label doors and all other hardware. See our blog post on Tips for Painting Kitchen Cabinets for more information about this.
B) Wash Doors: unfortunately not an optional task, all doors must be washed with tri-sodium phosphate or a comparable de-greaser. It’s almost a type of dry washing since the doors cannot get too damp or else they will warp, loosen or suffer other damage. You need to scrub up, rinse and pat dry each door in a timely fashion. Remember this is wood you cannot let it soak in the tub for an hour to get 10 years of grease off. Thicker layers of grease can be removed gently with scrapers and flat blade razors.
- Ensure the doors are dry before sanding.
- Use old finishing pads or old sanding sponges and wet sand with the cleaning solution.
C) Sanding: scuff sand the doors and sand out sags and runs from the previous finish. Scuff sanding means 5 to 6 quick passes with sandpaper.
- Use sanding sponges for the groves and expect to use a lot. The smaller cheap ones are easier to use but only last 2 or 3 doors before they need to be replaced.
- Using a combination of spade-shaped mouse sander for the corners and orbital sander for the front and sides and you will save a lot of time.
- Be systematic in your approach to getting the work done and not missing any corners, sides or fonts.
- For the initial sanding of the varnish coat use 120 – 150 grit sandpaper. Don’t polish the varnish with higher grit sandpaper.
- Use 150 if you’re new to using those tools. Practice sanding on the backs of the doors. A moving orbital sander can leave rotation marks on the surface if not placed on to that surface correctly.
- Dust, consider doing the sanding outside if possible and wear a mask to protect your lungs from the fine varnish dust.
D) Dents, Cracks and Holes: Now is the time to fill small holes with wood filler. The Le Page Tinted Wood Fillers work well in most applications. Avoid using latex caulking such as DAP to fill in cracks, over time it will crack and weather poorly. The tinted wood fillers can be used just as easily, as well they can be sanded smooth, unlike latex caulking.
E) Modifications: If changing door hardware now it is the time to see if it fits correctly or needs to be moved. Drill new or larger holes as required now and not on a freshly painted door.
F) Dusting: completely dust the doors, remove all dust, use dry paintbrush to sweep out cracks and be very detailed. Vacuum each piece to remove all the varnish dust, a bristle vacuum attachment works well for the detailed job.
G) Clean up: vacuum your work area and get ready to paint.
H) Drying Station: if not already done construct a drying station. A professional lays out all the doors in advance and ensures that a freshly painted door can be removed from the paint station and placed onto the drying rack without any of the wet paint being touched.
I) Prime coat: Match the primer to the paint and the paint and to the surface being painted. Prime the backs of the doors first and follow the manufactures instructions for dry time. Flip over prime the other side.
J) Sand: Using 220 grit sandpaper do another quick scuff sand after the primer coat has completely dried and completely dust and vacuum the door prior to the first coat of paint. Use a dry paintbrush as a fine whisk to get into the corners. If possible take each door outside, or away from the painting station to avoid dust contamination at the drying racks.
K) First Coat of Paint: paint the BACK of the DOOR first (both coats of paint). If you paint the backs first any marks left from the painters’ pyramids (only if you’re in a rush) will be on the back of the door – drying time is as per the paint’s instructions. Overnight drying before flipping the doors and painting the fronts is usually recommended. Water-based enamels such as Ben Moore Advance will need a full 16 hours of dry try between coats. While the paint may feel very dry after 5 to 6 hours I never attempt any repaints prior to the interval of time recommended by the paint manufacturer.
- Yellow bleeds or stains coming through white primer are a sign you need to use an oil-based primer with shellac such as BIN by Zinsser. If not dealt with the yellow will continue to bleed through to the finish coat. If the yellowing is only in a few spots then use a spray can of BINs and only spot prime. If the yellowing is extensive you will need to apply a complete coat of the BINs shellac-based primer.
L) Painting the Sides: each time you paint a door do the sides lightly (not to thick) with a roller. Use light coats on the sides because you end up putting 3 coats (1 primer, 2 finish) on the each door (technically because you paint the front and back of the door you get to apply up to 6 coats on the sides),
M) Second coat of paint: Between the first and second coat use 320 grit sandpaper. If it’s not covering completely after the second coat don’t force it, just accept that you’ll need to apply another coat. You likely applied too light of a coat during the primer or painting process or both but that’s OK since the end results of applying the paint too thick would be much worse.
N) Dry Time and Re-hanging the doors: Within hours the surface is dry to the touch but the paint is still soft and will scratch, chip or scuff easily. During the initial week of drying try not to handle the doors too much initially and don’t try to hang the doors before they have begun to fully cure, this takes about 5 to 7 days.
You can see why using a paintbrush and consumer-grade products is a problem because after every coat of paint you need to wait 24 hours before you can “really” work on them. It takes 8 days just to paint the doors and drawers.
Refinishing Cabinet Doors with Traditional Brush and Roller
- Day One – Prep,
- Day Two – Prime both sides 1x AM / PM
- Day Three – Prime Sand Backs, Prime Sand Fronts, Prime Backs 2x
- Day Four – Prime Fronts 2X
- Day Five – Prime Sand Backs, Prime Sand Fronts, Paint Backs 1x
- Day Six – Sand Backs, Paint Backs 2x
- Day Seven – Paint Fronts 1x
- Day Eight – Sand Fronts, Paint Fronts 2x
- Day Eight to 14 – cure
- Day Fifteen – pack and install
Vs Spray Painting with post cat conversion varnish
- Day One – Prep
- Day Two – AM Prime Fronts & Backs / PM Sand Front & Backs including Filling
- Day Three – AM 2nd coat of Primer / PM Sand backs of all pieces
- Day Four – AM Spray Paint Backs / PM Spray Paint Fronts
- Day Five / Day Six – pack or install